Documentation
INTRODUCTION
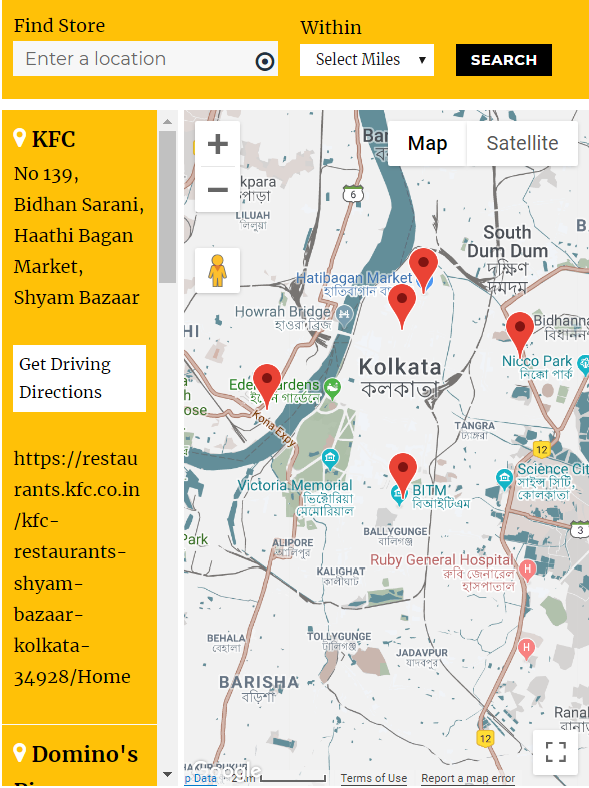
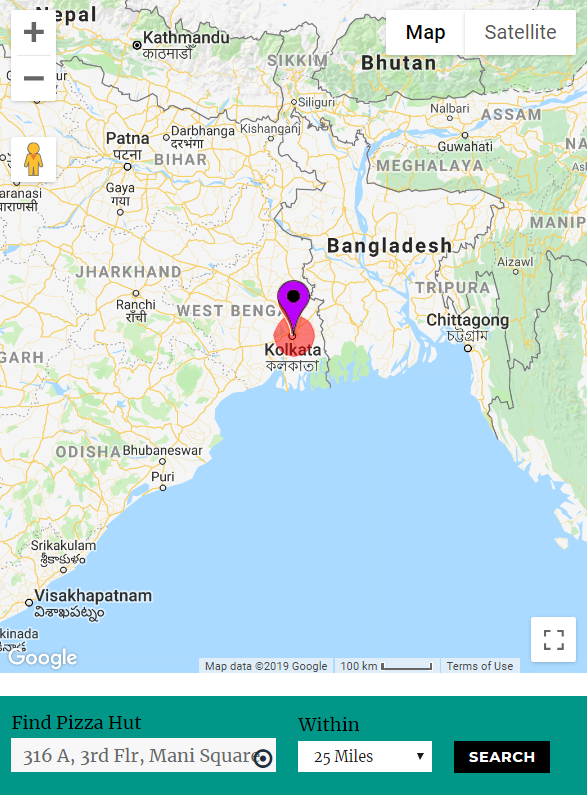
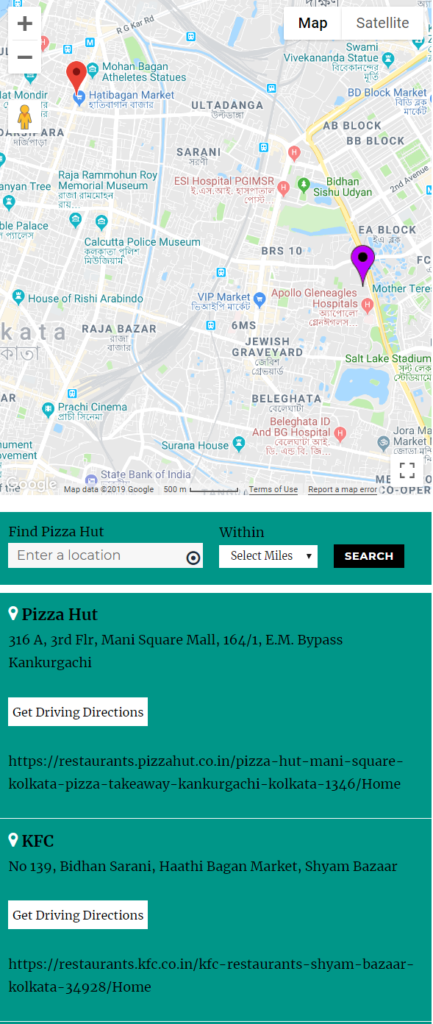
One of the most common features of a website is displaying a GOOGLE MAP that highlights one or more locations for a business, institution, or any kind of entity with a physical presence. If you have ever searched the internet for a retail establishment, chances you’ve used a store locator application. Its simplest form, a store locator display a set of markers representing locations on a map,to help user find the nearest location. Store locator can also show related information such as address, phone number, photos, direction and URL.
What you’ll build:
- Display a map with a set of store locations and information from a WP.
- Use custom markers based on the store’s information.
- Display extra information about the store when its marker is clicked.
What you’ll learn
- How to make a Google Map with a set of locations and data.
- How to customize the look of markers, info windows and the map itself.
PLUGIN INSTALLATION
You can install plugin by following these steps-
- 1Go to Plugins menu.
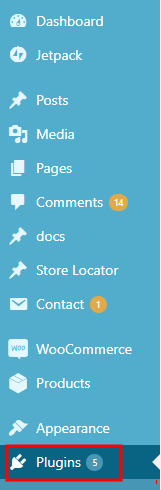
- 2Click on a Add New button.
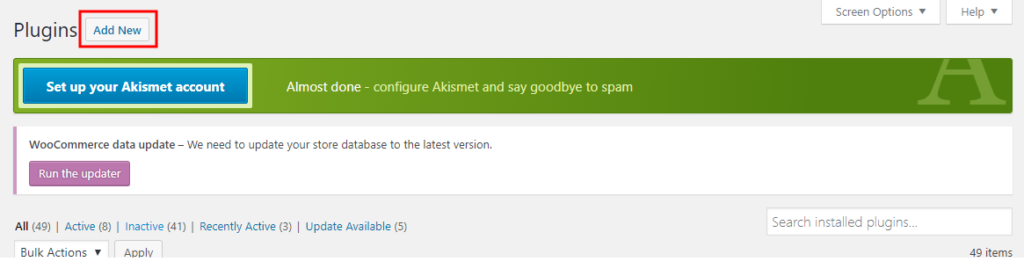
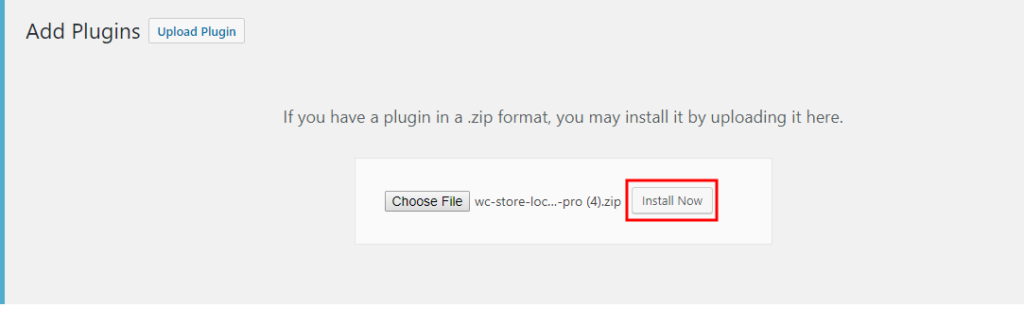
- 3On top of the page, click “Upload Plugin” button.
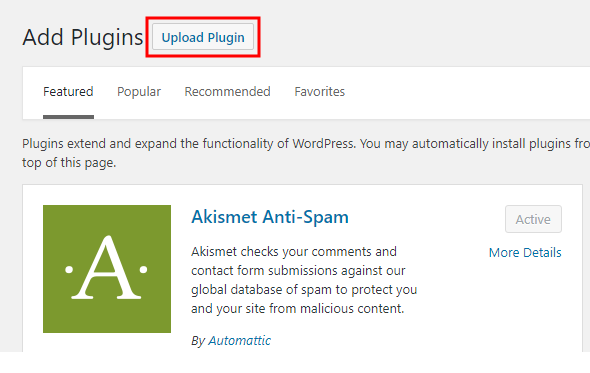
- 4If you have a plugin in a .zip format, click on “Choose File” button.

- 5Select the ZIP file from your computer.
- 6Click “Install Now” button.
- 7Wait for a few seconds for wordpress to complete the installation
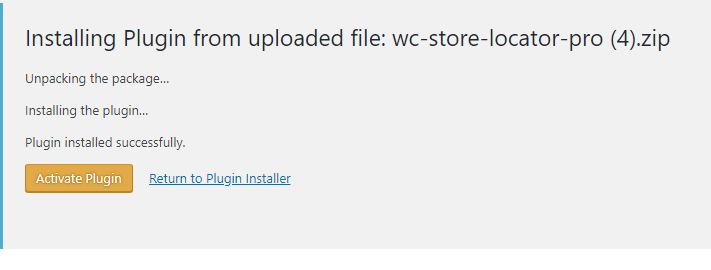
- 8Click on Activate button.

CREATE API KEY
You can create API Key by following these steps-
- 1Go to how to use menu, click on Google Map API Key.
- 2click, Create a project
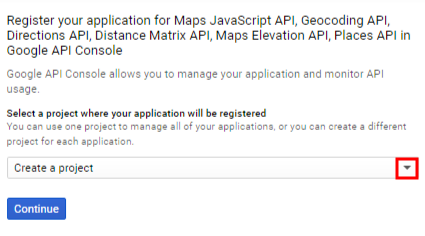
- 3Enter your project name.
- 4Click on create button.
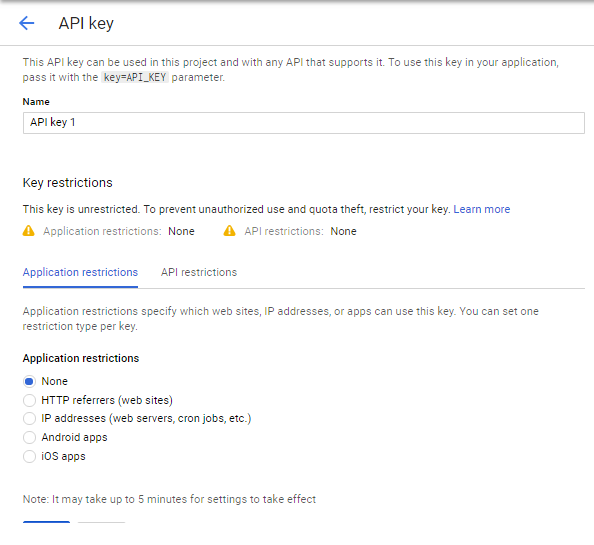
- 5Go to Credentials and copy your api key
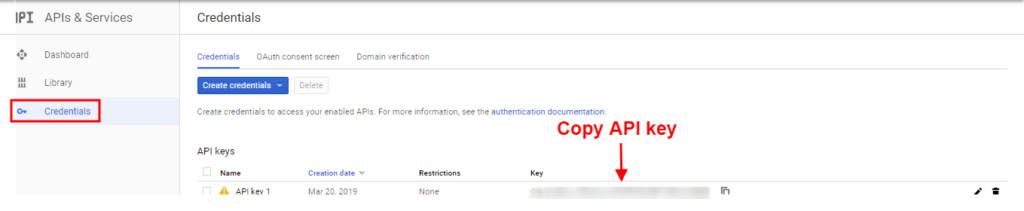
- 6Go WC Store Locator – plugin setting and paste in Google Maps API Key.

ADD STORE
- 1Go to WC Store Locator menu, click on Add store.
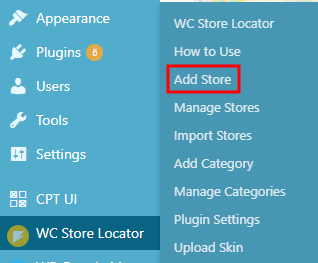
- 2Go to ADD STORE page and insert your store details.
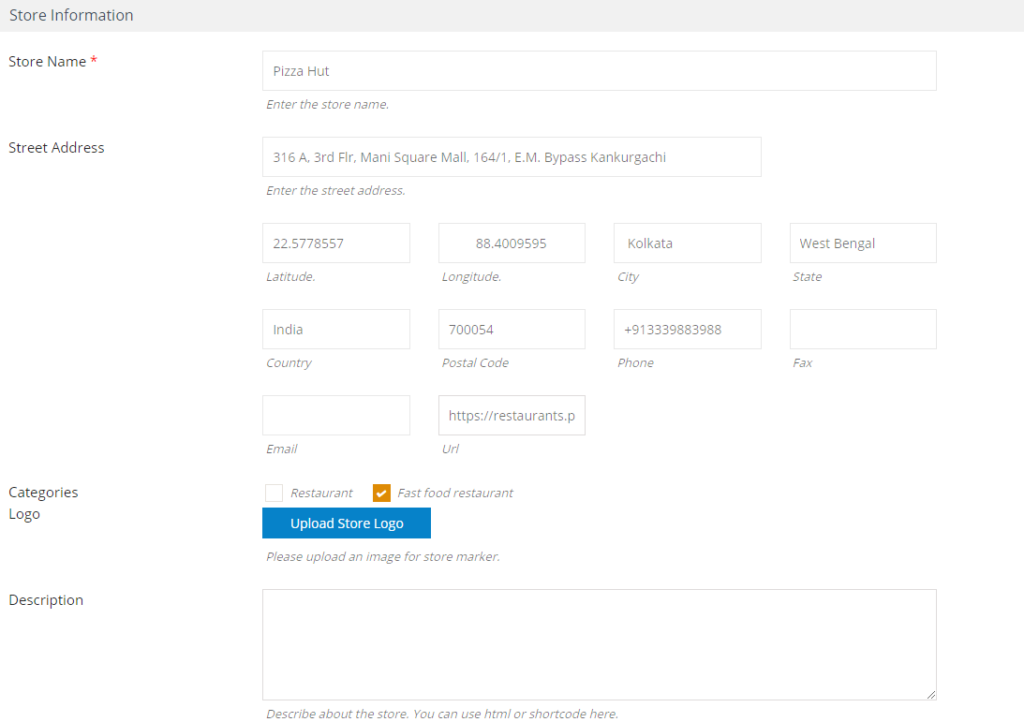
In add store you will find store information, where you need to insert some information of your store :
- Store Name: Insert your Store name here.
- Street Address: Insert street address of your store means where is your store located in which city,latitude,longitude, state, county, postal code, phone no. and url.
- Categories: To display categories you have to add add category.
- Upload Store Logo: You can upload your store logo by this feature.
- Description: If you want to add any description of your store you can insert here.
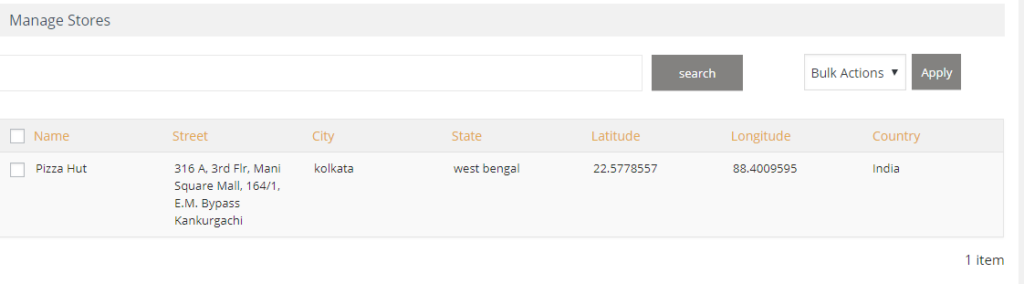
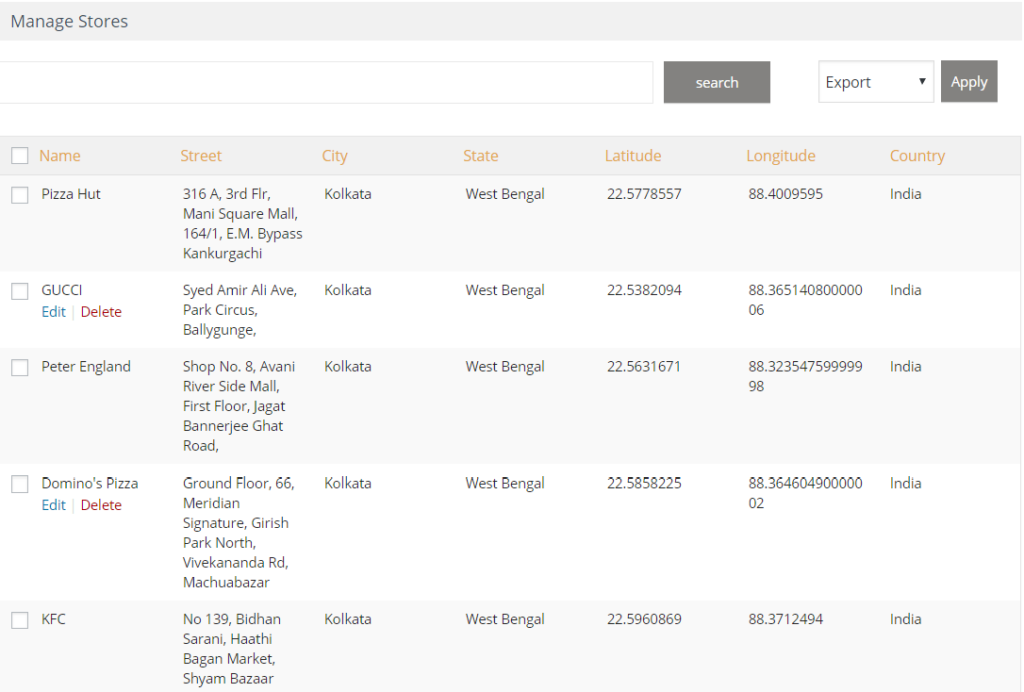
- 3Click on Save Store.
- 4All the locations you created will be display in Manage Stores page of WC Store Locator.
ADD CATEGORY
- 1Go to WC Store Locator menu, click on Add category.
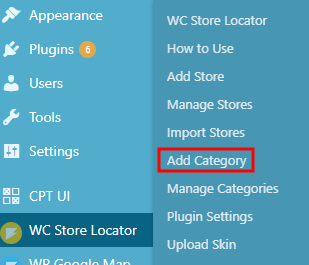
- 2Go to Add Category page and enter category name and choose icon.
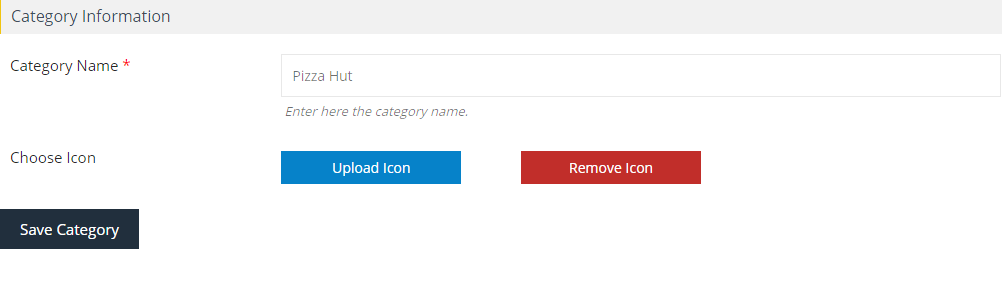
In add category you will find category name and choose icons.
- Category Name: You can create a category name by this option.
- Choose icon: You can upload your icon by this option.
- 3Click on save category.
- 4These categories that you created are displayed Manage Categories Page.
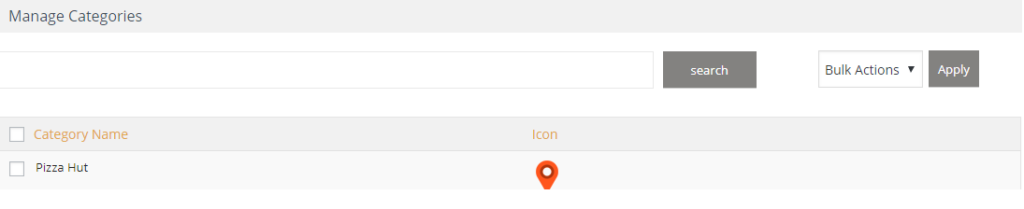
- 5You can assign the category to the store at add/manage store.
IMPORT/EXPORT STORES
EXPORT STORES
- 1To Export locations, Go to Manage store Page and choose Export and click on ‘Apply’.
- 2Then you’ll see all location in CSV file.
IMPORT STORES
- 1Go to WC Store Locator menu, click on Import stores.
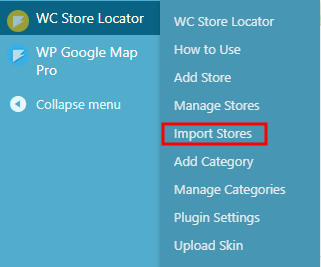
- 2 Go to Import stores page and Choose Delimiter and Choose File To Import.
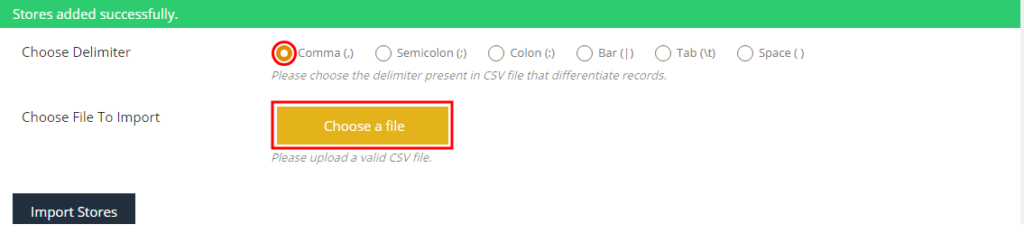
- 3 Click on Import Stores button.
AUTO GEO LOCATOR
If Import store using CSV without Latitude & Longitude .Our GEOCODING system will automatically fetch latitude & longitudes for your stores. Auto Geolocator will work on manage store.
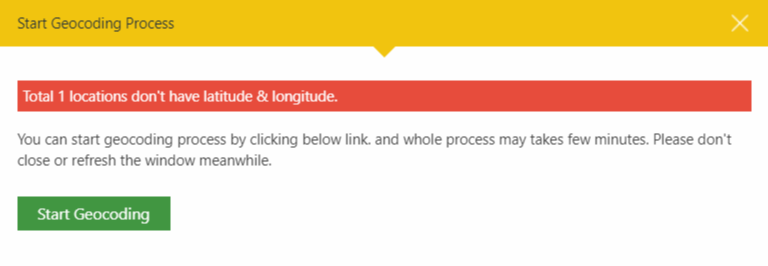
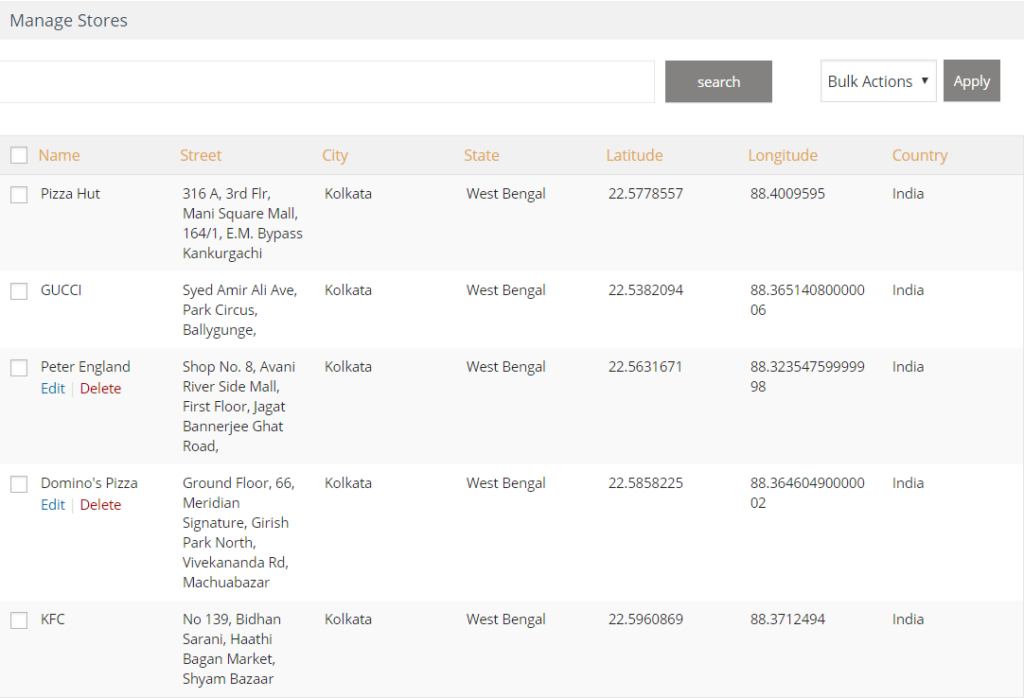
You will find all imported stores on Manage Stores page of WC Store Locator.
PLUGIN SETTINGS
- 1Go to WC Store Locator menu, click on Plugin Settings
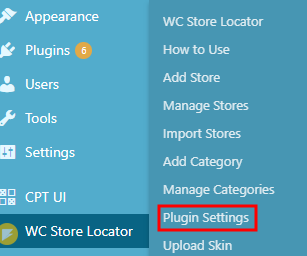
- 2Go to plugin setting page and insert details.

In plugin setting you will find some setting, where you need to insert some information:
MAP SETTINGS
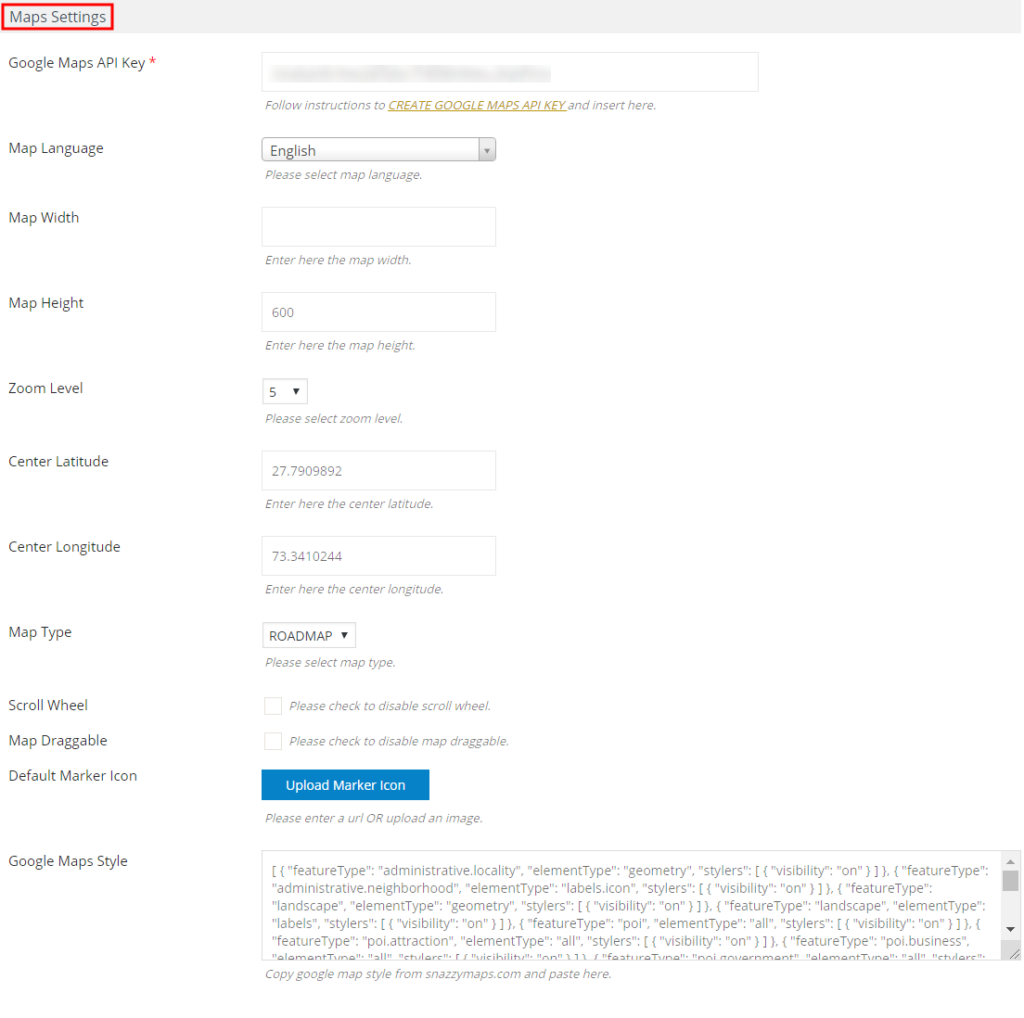
- Google Maps API Key : Insert Google Maps API Key of the Google Maps.
- Map Language: Insert Map Language.
- Map Width:To adjust width of the map you can insert value.
- Map Height: To adjust height of the map you can insert value.
- Zoom Level: Zoom level indicates how much you zoom level set to the map.
- Center Latitude: Insert Center Latitude of the location.
- Center Longitude: Insert Center Longitude of the location.
- Map Type: Insert Map Type.
Select one of the four available map types that you want to use for the map.
- Roadmap – displays the default road map view.
- Satellite – displays satellite images.
- Hybrid – displays a combination of normal and satellite views.
- Terrain – displays a normal street map based on terrain information
- Scroll wheel: Tick to disable scroll wheel. This option allows users to zoom the map in or out with the scroll wheel.
- Map Draggable: Tick to Map Draggable.
- Default Marker Icon: You can upload your icon by this option. You can change this icon to an image of your choice.
- Google Maps Style: You can create your own custom map style by either writing your own style code or you can use existing map styles from snazzymaps.

CONTROL SETTING
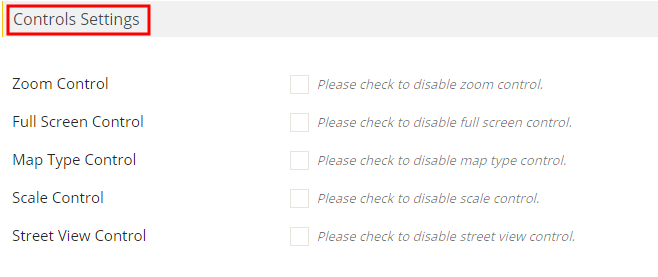
- Zoom Control:Tick to disable zoom control.
- The Zoom control displays “+” and “-” buttons for changing the zoom level of the map.
- Full Screen Control: Tick to disable full screen control.
- The Full screen control option to open the map in fullscreen mode.
- Map Type Control :Tick to disable map type control.
- Map Type Control enables/disables the Map Type control that lets the user control between map types (such as Map and Satellite).
- Scale Control: Tick to disable scale control.
The scale of a map is the ratio of a distance on the map to the corresponding distance on the ground
- Street View Control : Tick to disable street view control.
- The Street View control contains a Pegman icon which can be dragged onto the map to enable Street View.
MARKER CLUSTER SETTINGS
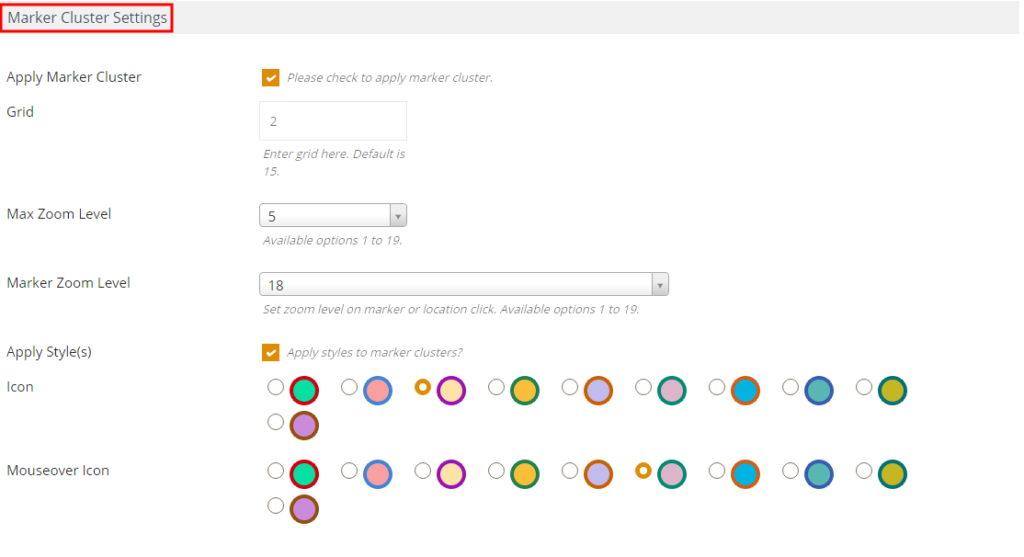
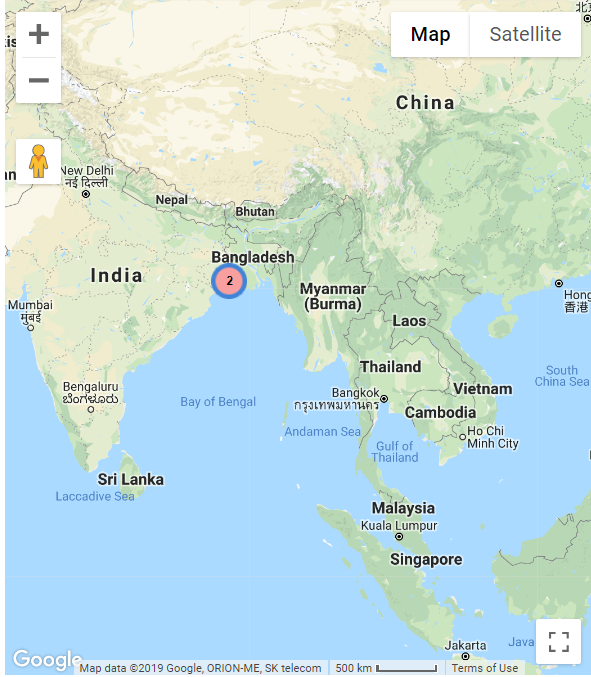
- Apply Marker Cluster: Tick to apply marker cluster. you can use marker clusters to display a large number of markers on a map.
- Grid:Insert Grid here
- Max Zoom Level:Insert zoom level, available options 1 to 19
- Marker Zoom Level:Insert zoom level on marker,available options 1 to 19.
- Apply Style:Tick to apply styles to marker clusters.
- Icon : You can change icon color by this option.
- Mouseover Icon : You can change Mouseover icon color by this option.
SEARCH SETTING
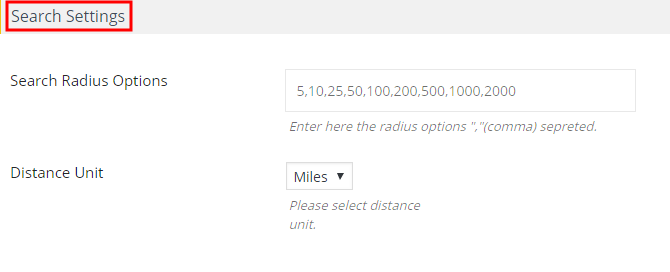
- Search Radius Options: Insert here the radius options
- Distance Unit: Select distance unit.
You can change distance unit in miles or km.
CIRCLE SETTING
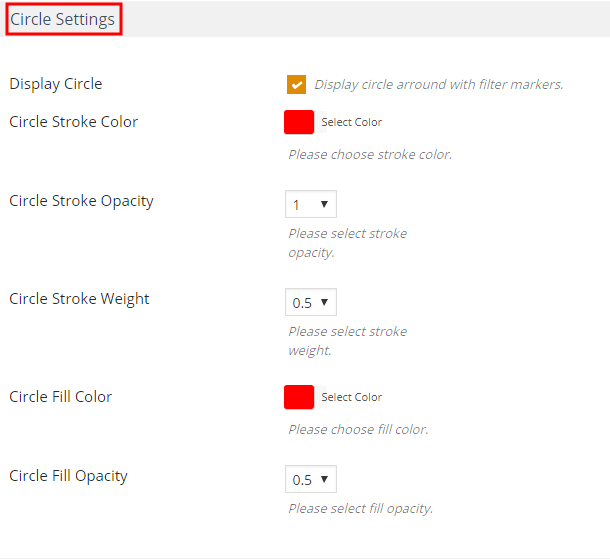
- Display Circle : Tick to display circle around with filter markers.
- Circle Stroke : Insert circle stroke Color.
- Circle stroke opacity: Insert stroke opacity circle.
- Circle Stroke Weight : Insert stroke weight circle.
- Circle Fill Color: Choose Fill circle Color
- Circle Fill Opacity: Insert fill opacity.
INFOWINDOW SETTINGS
An Infowindow can be placed on a map at a particular position or above a marker, depending on what is specified in the options. An Infowindow will autopan the map to make itself visible when it is opened.
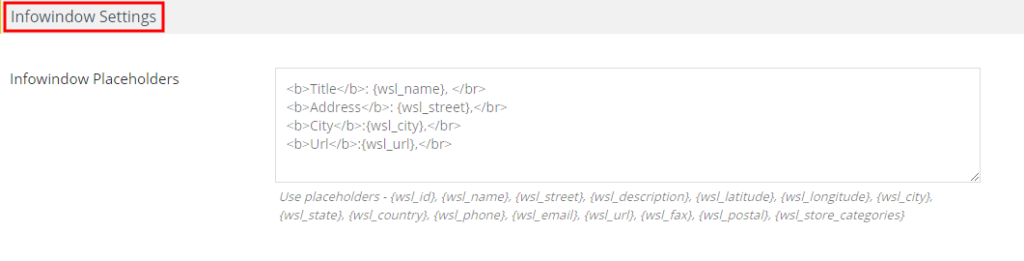
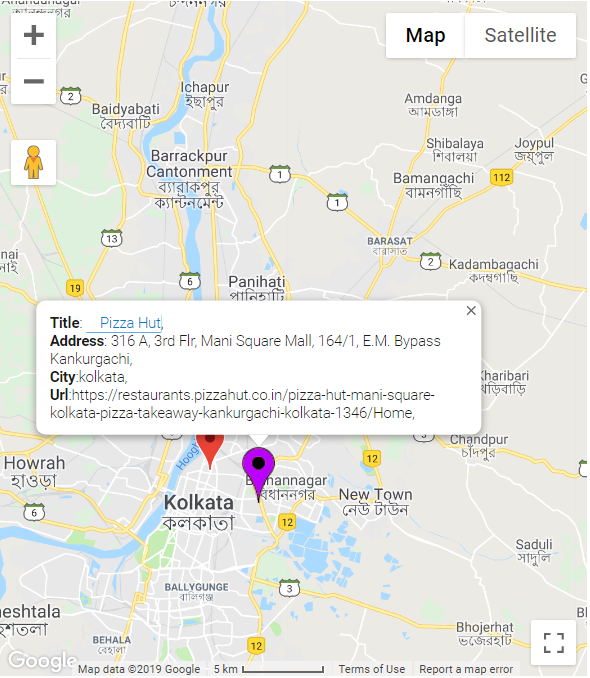
Infowindow Placeholders : Infowindow setting section use Infowindow Placeholders input- {wsl_id}, {wsl_name}, {wsl_street}, {wsl_description}.
STORE LISTING SETTINGS
You can customize listing content also go to Listing Placeholders in stores List Settings and insert placeholders according to your choice.
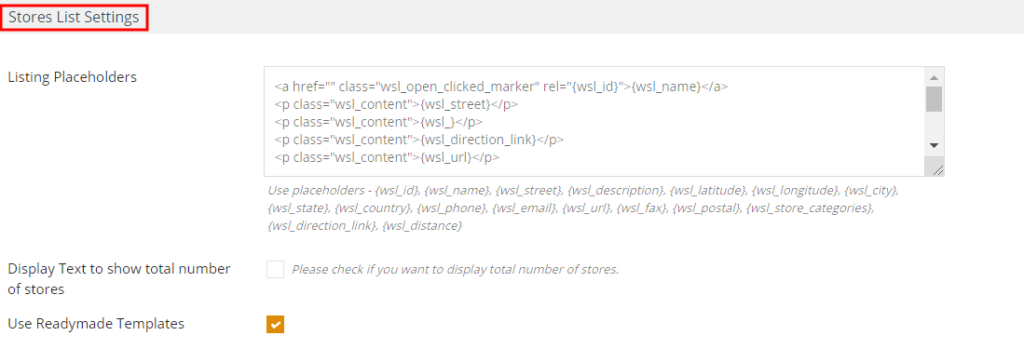

- Listing Placeholders: Stores List Settings section use Listing Placeholders input-{wsl_id}, {wsl_name}, {wsl_street}, {wsl_description}, {wsl_latitude}, {wsl_longitude}.
- Display Text to show total number of stores: Tick if you want to display total number of stores.
- Use Ready-made Templates: Tick to choose templates by this option.

TEMPLATE SETTING
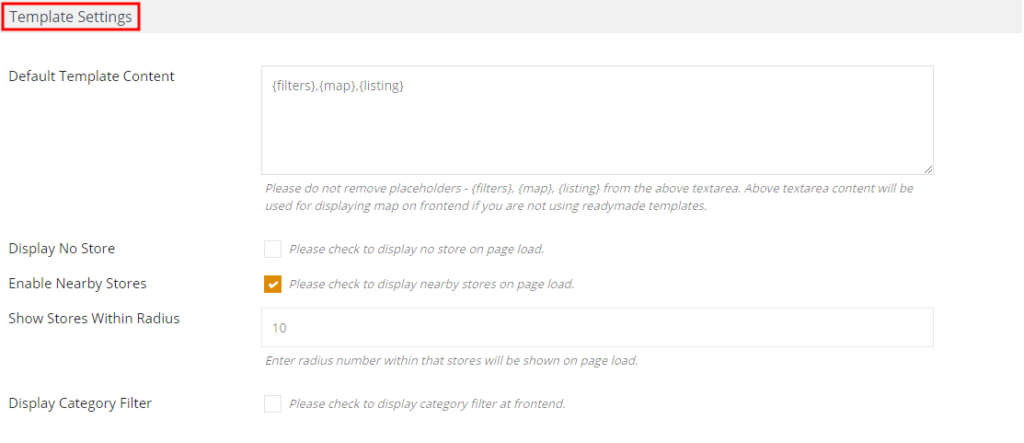
- Default Template Content :Please do not remove placeholders – {filters}, {map}, {listing} from the above text area. Above text area content will be used for displaying map.
- Display No Store: Tick to display no store on page load.
- Enable Nearby Stores: Tick to display nearby stores on page load.
- Show Stores Within Radius: Insert radius number within that stores will be shown on page load.
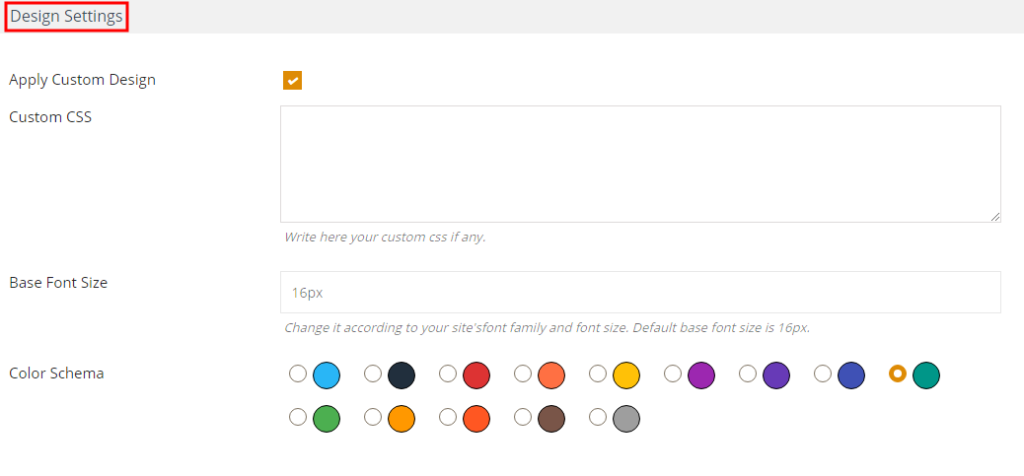
DISPLAY SETTING
- Apply Custom Design : Tick to apply custom design
- Custom CSS :You can write your custom css by this option.
- Base Font Size : You can change your site’sfont family and font size by this option.
- Color Schema : You can change display setting color schema by this option.
You can choose color schemes according to site requirements, 14 flat colors schemes are available in the backend.
TEXT SETTING
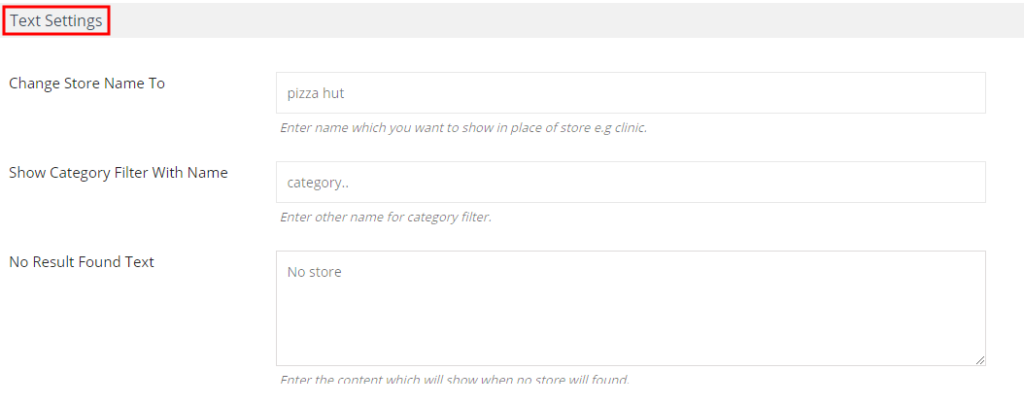
- Change Store Name To: Insert name which you want to show in place of store.
- Show Category Filter With Name: Insert name for category filter.
- No Result Found Text : Insert the content which will show when no store will found.
- Click on save settings
SHORTCODE
- 1Go to Pages menu
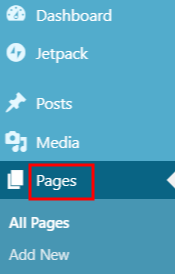
- 2Click on Add New button.

- 3Click Add Title.
- 4Add Shortcode.
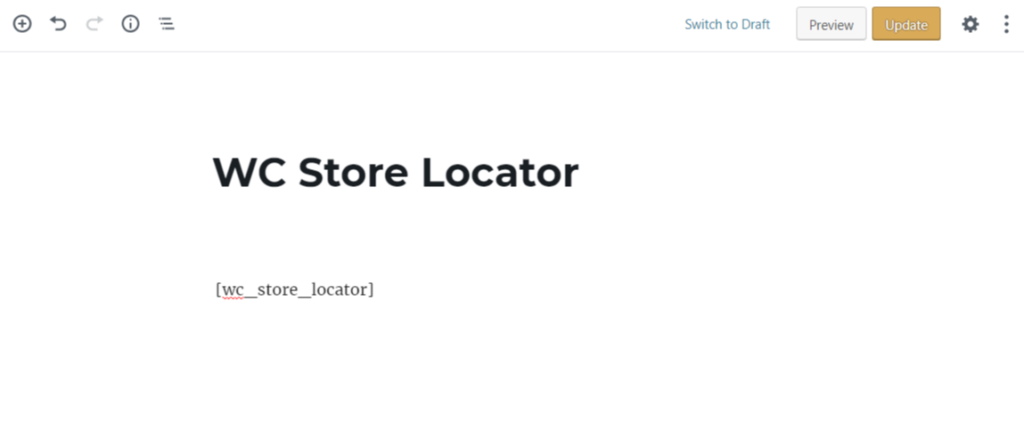
- 5Click on Update button.
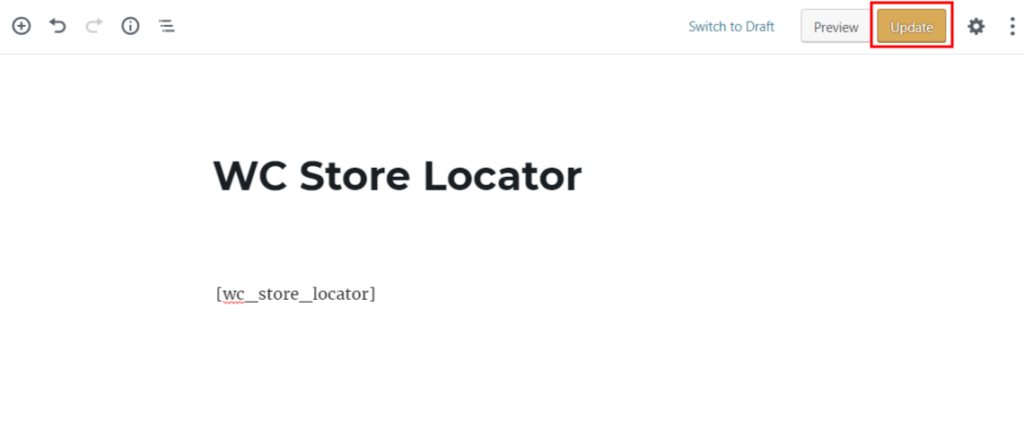
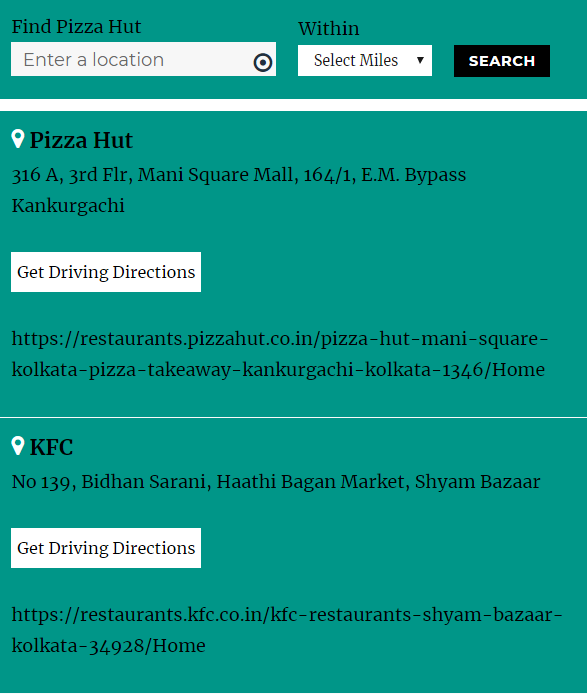
- 6You would then see a store locator displayed on the frontend of the site.
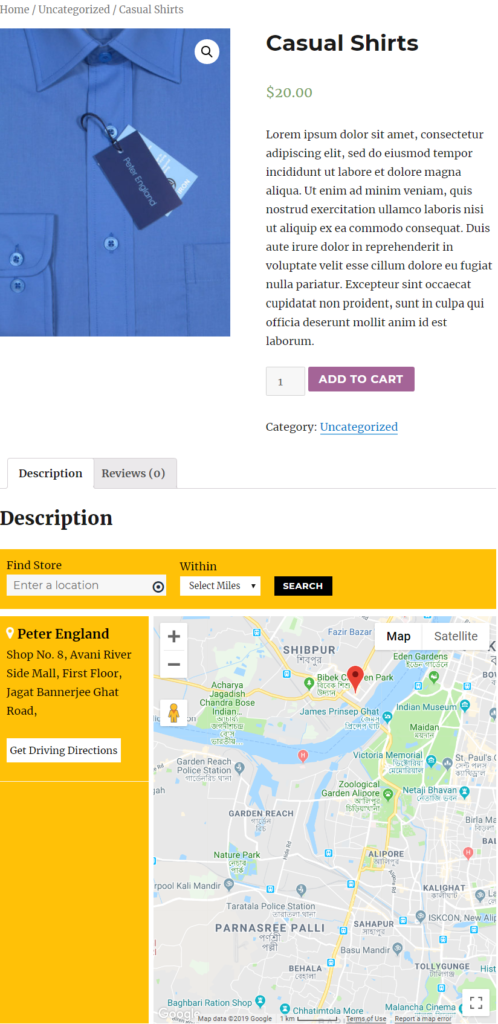
ASSIGN YOUR WOOCOMMERCE PRODUCT ON STORE>
Store locator supports woocommerce very well, You can assign your woocommerce product on store. Woocommerce Store locator plugin allows your customers to quickly find your products and services nearest them.You can use store locator to display location based products to your customers.
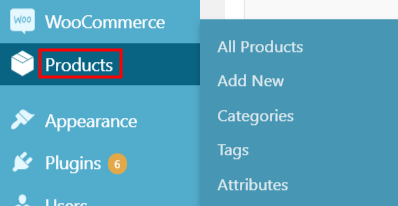
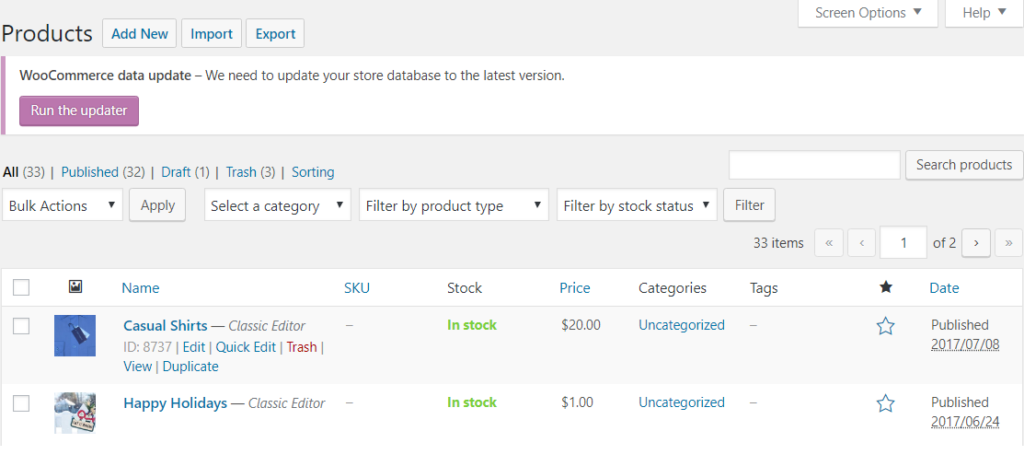
- 1Go to WooCommerce >Product button.
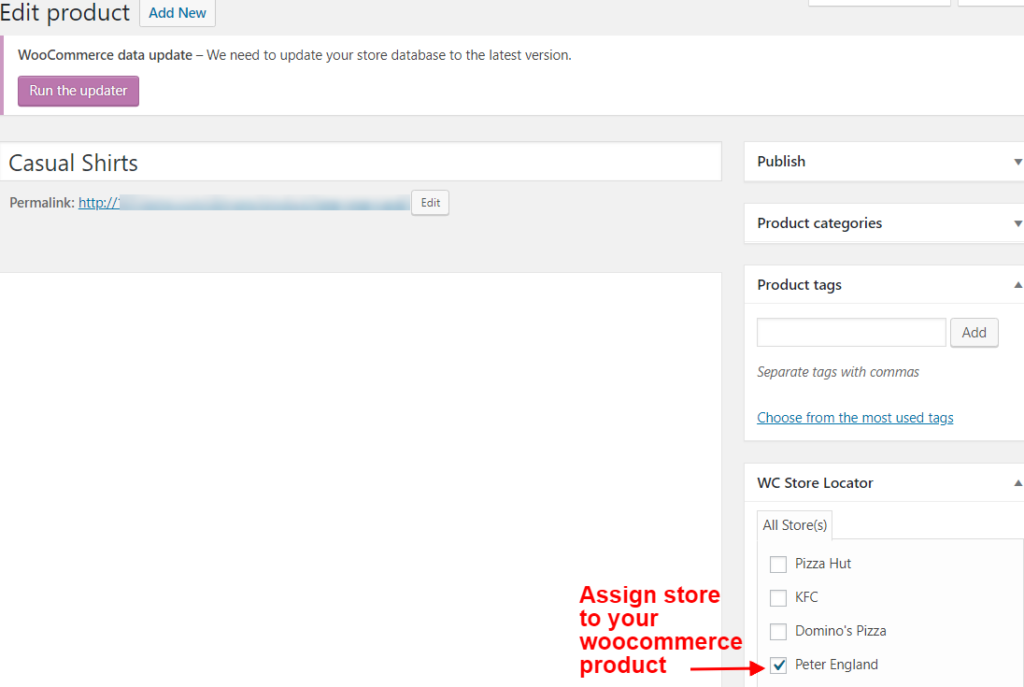
- 2Choose your product where you want to assign the stores.
- 3Assign product to the store from “WC Store Locator” Metabox.
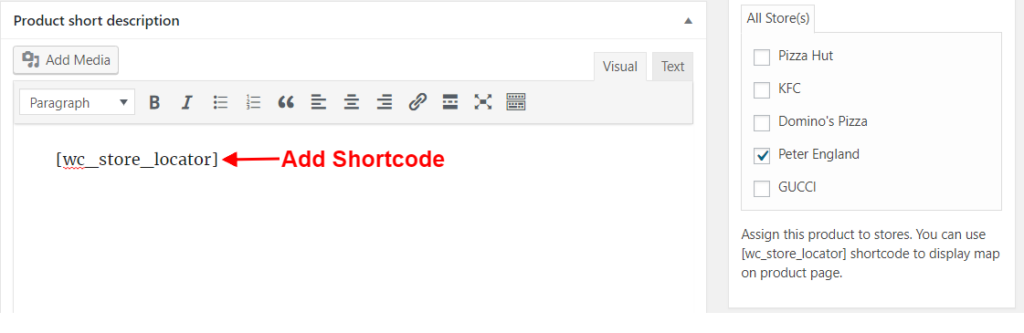
- 4Add Shortcode.
- 5To display the assigned product on the product page map, you need to insert [[wc_store_locator]] shortcode in product description.
- 6Click on Update button.
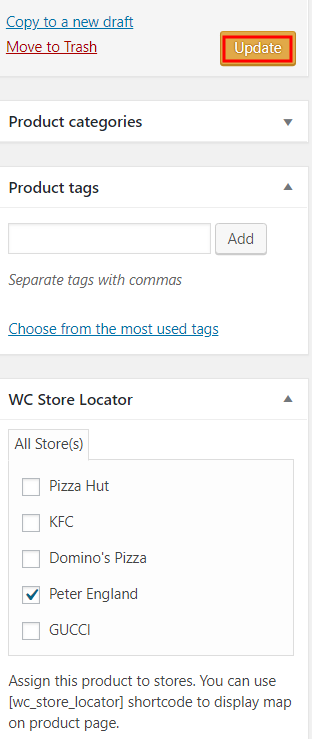
- 7You would then see a store locator product display map on product page.